So in this article, we’re going to learn how to generate PDF using HTML form in PHP using MPDF. But before starting I want to ask one question. Why PDF, why not another document? Think think…
Because the PDF (Portable Document Format) is also called a Read-Only Document which is static and cannot be modified by anyone until unless the rights are given to that person. Keep in mind that data security is the most important concern on the entire internet.
Every company wants to protect its data. They want to share their data but with security so that only the right person can access it. But How?
Here the PDF comes into existence. The PDF is the only way to share the data in a file that can be secured with a username and a password. Generally, the Companies use pdfs for sending Salary Slips, E-Books, ID Cards, etc with a single click.
So here we are using PHP (HyperText Preprocessor) language to generate pdf with a single click. PHP uses external libraries to generate pdfs, which helps to fetch the data from the database or any other web forms.
Table of Contents
Library Used to Generate PDF
There is a number of libraries that can be used to generate pdf using PHP. But here we’ll use the most popular library called mpdf. The PHP library is used in generating the PDF from UTF-8 encoded HTML. The reason we are using mpdf is, it comes with a number of enhancements over the HTMLTOMPDF and FPDF.
This Library was released under the GNU GPL v2 License which was written by Lan Back. The main specialty of this library is that we can generate pdfs which include watermarks, CSS styles, we can also protect it by passwords, barcodes, page numbering, text justification, etc.
So, In this tutorial, you will learn how you can easily generate pdf using HTML form in PHP using MPDF.
How to Generate PDF Using HTML Form in PHP Using MPDF
Before proceeding to the code, first, you’ve to download that library using composer to your actual project folder. You can find the composer in Github or you can simply download it from the given link. After downloading the composer install it on your computer or laptop.
Note: If you download mpdf from GitHub then you’ll not be able to find the vendor folder within it. You’ll get the full package installed only when you use composer. So I recommend you to download it by using composer only.
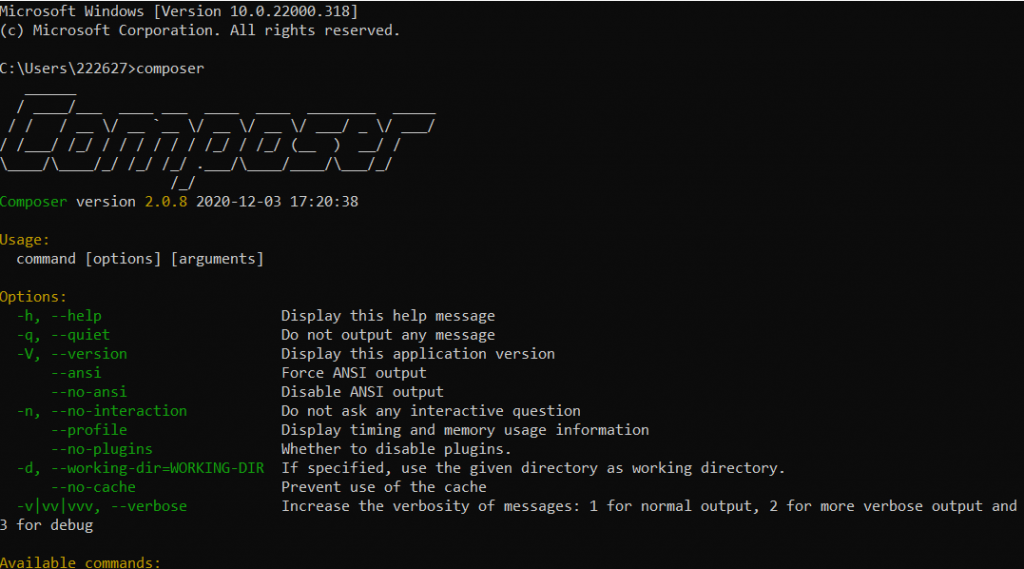
To check whether the composer is successfully downloaded and installed, you have to check it in the command prompt. Type the below command in the command prompt:
C:\>composerIf the composer is already installed then the following screen will appear:
If the above output appears in the command prompt then, enter your project path in the command prompt and enter the below command to install the mpdf package:
C:\xampp\htdocs\Project> composer require mpdf/mpdf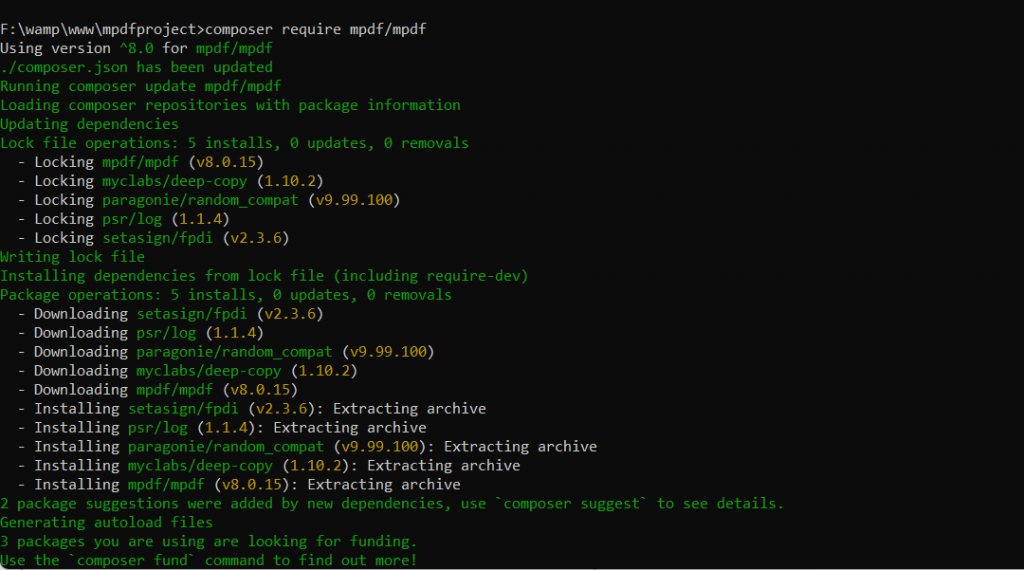
Note: To install mpdf using composer command, your PHP version should be less than 8.0. Then only mpdf can be installed on your computer otherwise, it’ll throw an error while installation.
After running the above command you’ll notice that the following folders are get installed using composer. The main folder is the vendor folder.
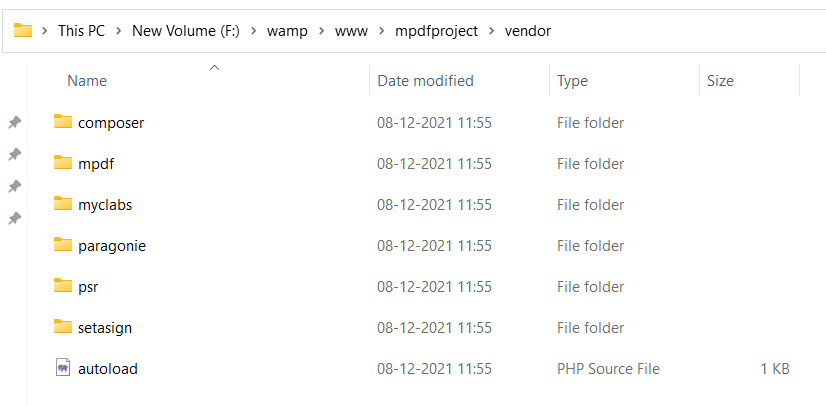
You’ve to create an index.php file where you’ve installed the mpdf using composer. See the following folder structure.

Project Demo
We’ve installed the mpdf library using composer
First I’ll show the demo of an entire project then we’ll see the actual code.
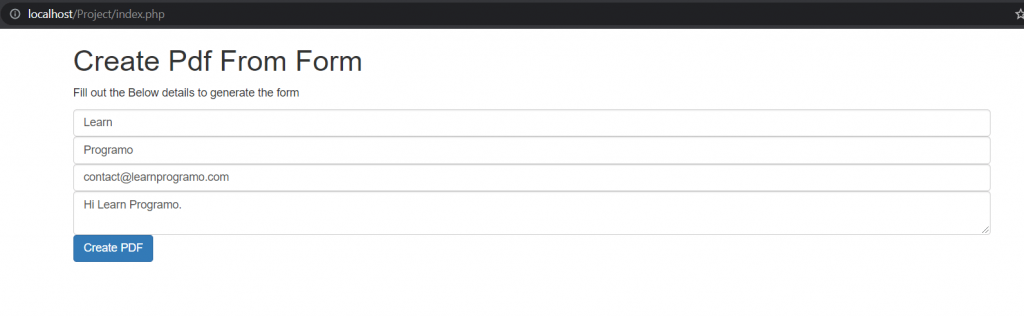
So below is the demo of our project in which the user has to enter the details in the blank input fields such as First Name, Last Name, Email, and the Message. And after filling in the all details correctly and clicking on the Create PDF button, the pdf document is downloaded successfully.
The downloaded documents contain all the details which we’ve sent. The below screen with input fields is shown up first.
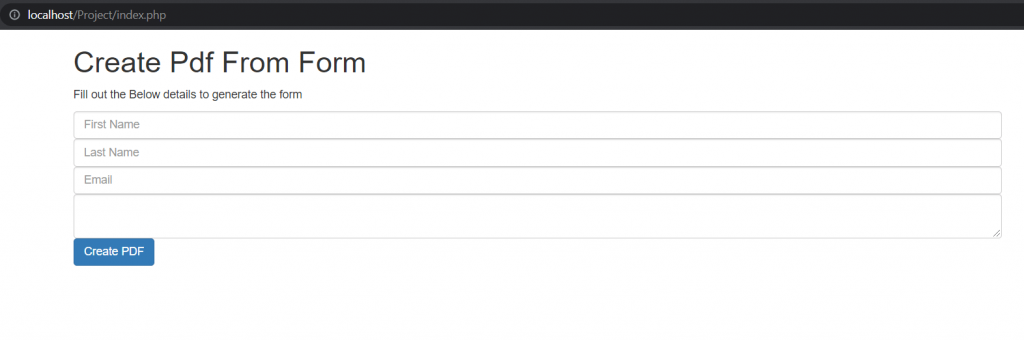
Now to generate pdf users have to fill all the input fields such as First & Last Name, Email, and Message to Generate PDF Using HTML Form in PHP Using MPDF as shown below.
After entering the correct values in their proper input fields the pdf with myProject.pdf name is downloaded as shown in the image below.

When you open the downloaded pdf file you’ll see the entered contents in the pdf as shown below.

Note: These input fields are just for demo purposes. If you want to add your own input fields then you’ve to just change the HTML code from the index.php file. And the changes are shown in the downloaded pdf automatically.
How to Generate PDF Using HTML Form in PHP Using MPDF Code
We’ve seen the demo of the actual project, Now we’ll see the actual coding part of our Project.
Step 1: Create one file named index.php in the given path C:\xampp\htdocs\Project\index.php.
Step 2: Write the HTML code required for insertion of data in the pdf as shown below:
//Learnprogramo

<!DOCTYPE html>
<html>
<head>
<!-- Latest compiled and minified CSS -->
<link rel="stylesheet" href="https://maxcdn.bootstrapcdn.com/bootstrap/3.4.0/css/bootstrap.min.css"/>
<title>Create Pdf with HTML Form with Mpdf</title>
</head>
<body>
    <div class="container mt-5">
        <h1>Create Pdf From Form</h1>
        <p>Fill out the Below details to generate the form</p>

        <form action="index.php" method="post">

        <input type="text" name="fname" class="form-control" placeholder="First Name" required>
        <input type="text" name="lname" class="form-control" placeholder="Last Name" required>
        <input type="email" name="email" class="form-control" placeholder="Email" required>
        <textarea class="form-control" name="message" placeholder="Message">

        </textarea>
        <button class="btn btn-primary" type="submit">Create PDF</button>
        </form>
    </div>
</body>
</html>
In the above HTML code, we’re using bootstrap to style the components. So insert the bootstrap CDN before the title tag. The form action is also included in the given code which has action as “index.php” which is the file name of our actual file.
Here we are posting the data from the form to the server that’s why we are using the method as a post. With the help of the post method, the data which is in the input field is sent to the server when the user clicks on the submit button.
But to send the code to the server some PHP code is required. First, we’ve to include the library in the PHP code, and then we’ll invoke their method with the actual data passed. The PHP code is given below:
Step 3: Enter the PHP code given below in the index.php file
//Learnprogramo

<?php
require_once __DIR__ . '/vendor/autoload.php';
// Grab variables
if(isset($_POST['fname']) && isset($_POST['lname']) && isset($_POST['email']) && isset($_POST['message']))
{
$fname = $_POST['fname'];
$lname = $_POST['lname'];
$email = $_POST['email'];
$message = $_POST['message'];
$mpdf = new \Mpdf\Mpdf();
$data = "";
$data .= "<h1>Your Details</h1>";
$data .='<strong>First Name</strong> '. $fname.'<br>';
$data .='<strong>Last Name</strong> '. $lname.'<br>';
$data .='<strong>Email</strong> '. $email .'<br>';
$data .='<strong>Message</strong> '. $message.'<br>';
$mpdf->WriteHtml($data);
$mpdf->output("myProject.pdf",'D');

}
?>
The Full Code which includes PHP and HTML code is given below. First, create one file named “index.php” and then paste the below code in that file.
//Learnprogramo

<?php
require_once __DIR__ . '/vendor/autoload.php';
// Grab variables
if(isset($_POST['fname']) && isset($_POST['lname']) && isset($_POST['email']) && isset($_POST['message']))
{
$fname = $_POST['fname'];
$lname = $_POST['lname'];
$email = $_POST['email'];
$message = $_POST['message'];
$mpdf = new \Mpdf\Mpdf();
$data = "";
$data .= "<h1>Your Details</h1>";
$data .='<strong>First Name</strong> '. $fname.'<br>';
$data .='<strong>Last Name</strong> '. $lname.'<br>';
$data .='<strong>Email</strong> '. $email .'<br>';
$data .='<strong>Message</strong> '. $message.'<br>';
$mpdf->WriteHtml($data);
$mpdf->output("myProject.pdf",'D');

}
?>

<!DOCTYPE html>
<html>
<head>
<!-- Latest compiled and minified CSS -->
<link rel="stylesheet" href="https://maxcdn.bootstrapcdn.com/bootstrap/3.4.0/css/bootstrap.min.css"/>
<title>Create Pdf with HTML Form with Mpdf</title>
</head>
<body>
    <div class="container mt-5">
        <h1>Create Pdf From Form</h1>
        <p>Fill out the Below details to generate the form</p>

        <form action="index.php" method="post">

        <input type="text" name="fname" class="form-control" placeholder="First Name" required>
        <input type="text" name="lname" class="form-control" placeholder="Last Name" required>
        <input type="email" name="email" class="form-control" placeholder="Email" required>
        <textarea class="form-control" name="message" placeholder="Message">

        </textarea>
        <button class="btn btn-primary" type="submit">Create PDF</button>
        </form>
    </div>
</body>
</html>
The below two lines are used to include the mpdf library in the Project:
require_once __DIR__ . '/vendor/autoload.php';
$mpdf = new \Mpdf\Mpdf();
Generate PDF With Watermark
If you want to add a watermark in your pdf just add the below lines in the index.php file:
$mpdf->SetWatermarkText('learnprogramo.com');
$mpdf->showWatermarkText = true;
$mpdf->watermarkTextAlpha = 0.1;
Conclusion
So, In this way, we’ve learned about how to generate PDF using HTML form in PHP using MPDF. If you’ve any doubt then please free to contact us.
HAPPY CODING 🙂
Also Read: